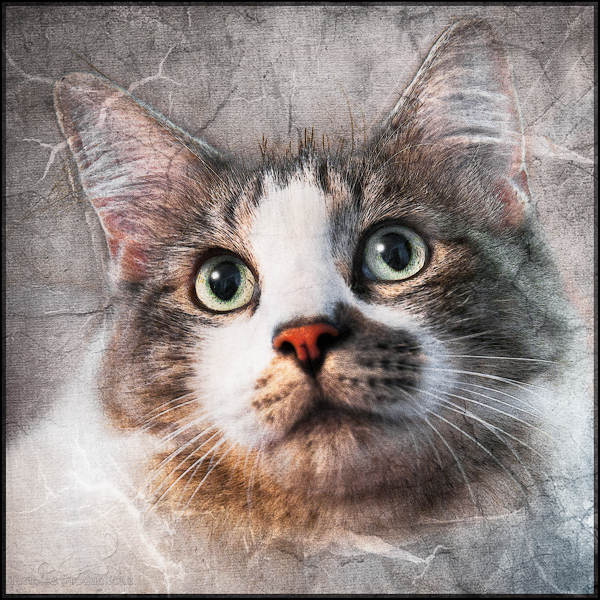
 If you’ve read any of my blog posts or seen any of my photography, you’ll know that I’m a big user of textures and borders.
The general idea is to take a texture/border and overlay it on a photograph (using any one of the blend modes offered in Photoshop) to add a little somethin’-somethin’ to the end product.
Some of the borders and textures I use are from Flickr groups that offer textures and borders for free usage. There are a lot of free texture/border groups and websites available on the ‘Net, but these are the three that I have a good relationship with:
Textures for Layers – Texture Whores – Textures and Textures
After seeing one of my textured/bordered photographs, people often ask me “How do you do that?” I tell them it’s very simple, and they never believe me. Well… it’s not a trade secret… so here are my tried-and-true methods of using a texture or border on a photograph.
- Pick a texture/border that looks great 🙂
- Of all the blend ones “Overlay” is usually the best one to use – but the others can produce interesting results, so don’t be afraid to experiment and see what they look like.
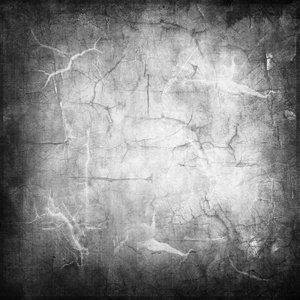
- Some of the blend modes completely change the “essence” of a colored texture/border. For this reason, I tend to convert chosen textures/borders to black & white. How?
In PS CS5:
- Select the texture/border layer
- Make sure your background/foreground colors are black & white
- In the PS menu select: Image – Adjustments – Gradient Map
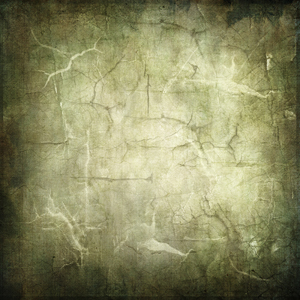
Example: (used in the photo above – texture courtesy of Kerstin Frank art)
 Before After
I’ve photographed a lot of textures since I started collecting them in 2007. Some are good, some are mediocre. As part of the group culture on the Flickr texture groups is to give back as much as you can, my collection is available on Flickr for usage by other photographers and artists.
Getting a texture photo is pretty simple – see one you like and get a close-up shot of it. 🙂 Alternatively, use motion blur or panning to create a texture!
Here are nine of my favorite textures that I’ve photographed/created in the past year:
All of these textures (and more!) can be found within my Flickr Set “Textures”. I haven’t quite gotten the hang of creating borders, but until then, I’ve got lots of really creative artists/photographers that graciously provide their images to people like me.
Happy Texturing! — Holly Kuchera
The Black & White texture shown above in my block of nine (left column, middle row) was created using a freeware program called IOGraphica. IOGraphica is a mouse tracking program. I’ve only recently started playing with it, but it can produce some very fun results. Here is a portion of the texture I created using IOGraphica while creating this blog entry:
And, if anyone is curious. Here’s the listing of the what the other images are – Left to right, Top left corner to bottom right:-
Bubble Pipes at the Science Museum of Minnesota
-
A silver tray found at an auction
- The brushed metal walls of the “Amber Box” floor of the Guthrie
- IOGraphica – 1.9 hrs
- Painted loading dock door (secret location)
- Motion blurred grasses at the local dog park
- Autumn trees on the Applachian trail (vertical pan)
- Sidewalk outside IFP in St Paul
- “Fibers” exhibit at the Science Museum of Minnesota


